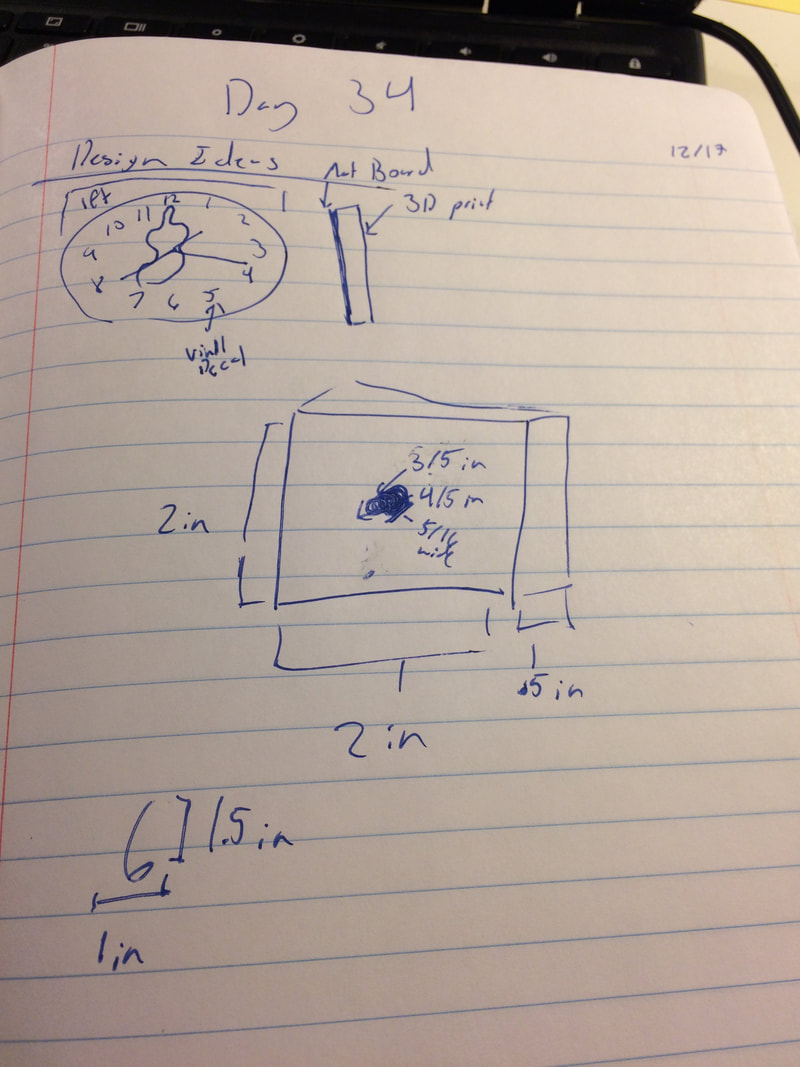
For the Clock project I wanted to make a clock with a violin for my Mom. It took me a while to think of 3 machines that I wanted to use to make it look nice but I finally made up my mind. I wanted to laser out some mat board with a violin design. Then I wanted to cut out some decal for the numbers. After that I was going to 3D print a base in the back for the clock part and for it to hang.
Laser Engraving
|
|
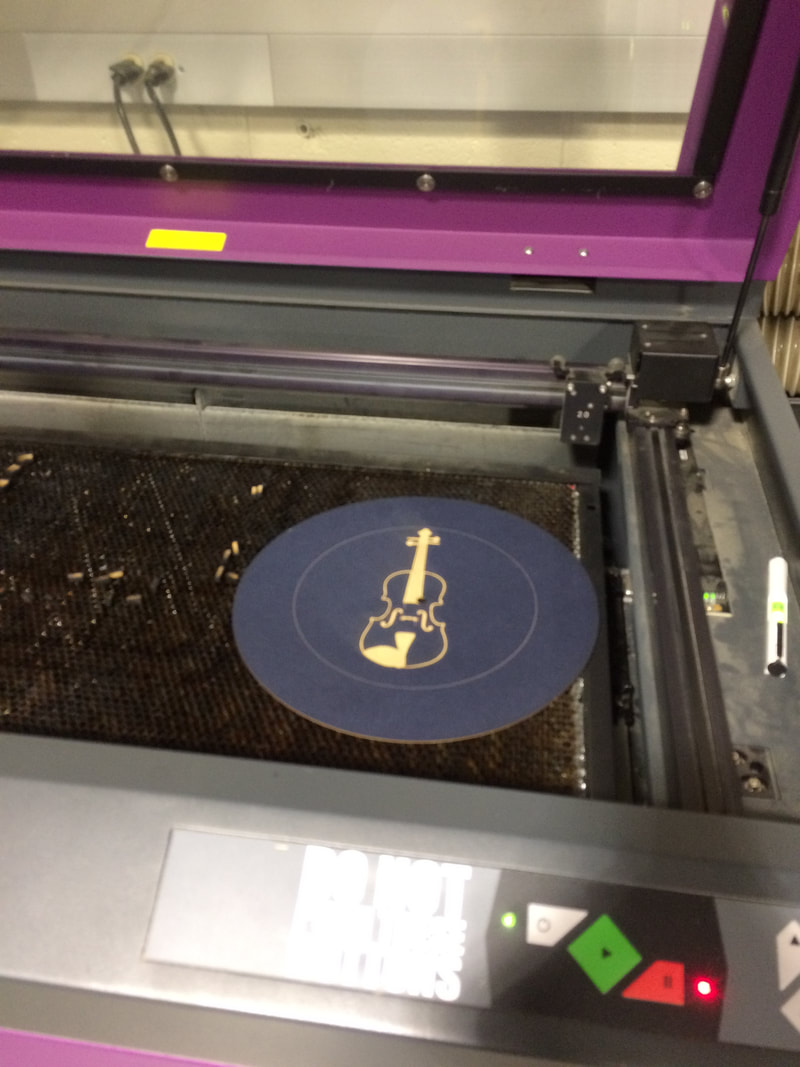
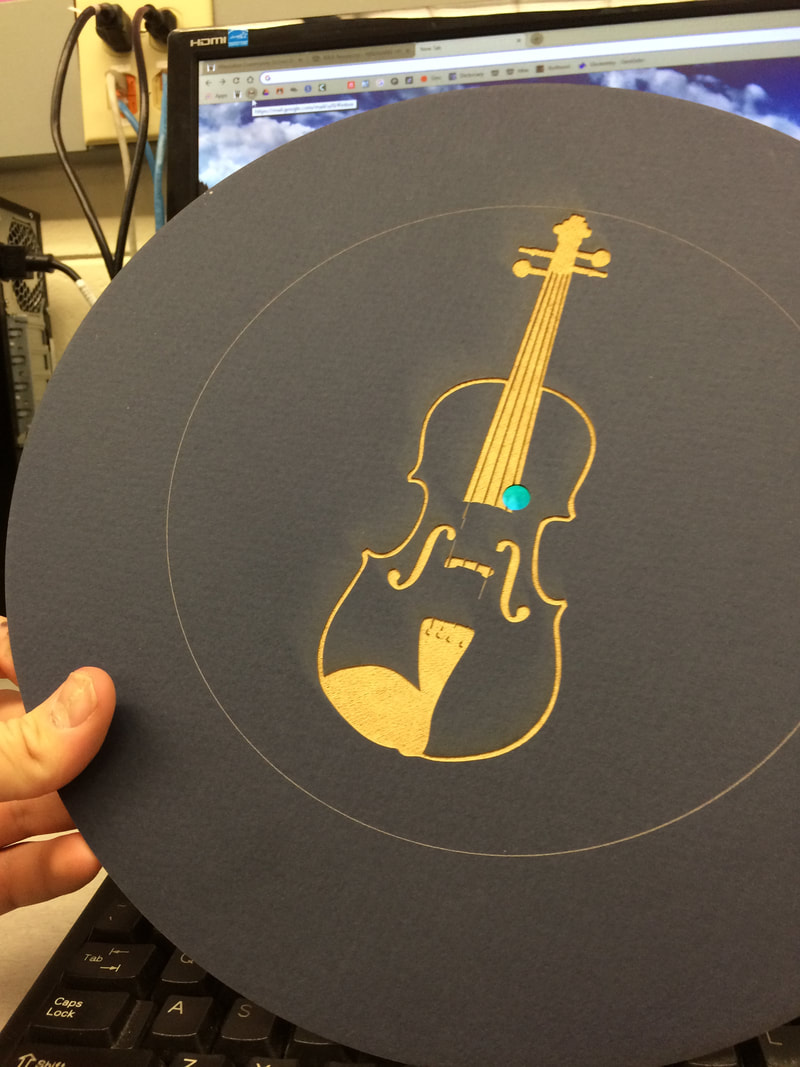
I first in Illustrator my design 12x12 circle to be the same size as a regular clock. I got a cool picture of a violin to put on the front and got it ready to laser. I first started with some white material with black inside but since it was warped it failed so I choose a different mat board that would work and laser cut it
Vinyl Numbers
I needed numbers for my mat board so i matched up the measurements and cut out the numbers
After they were cut out I started trimming the extra decal until it was just the numbers.
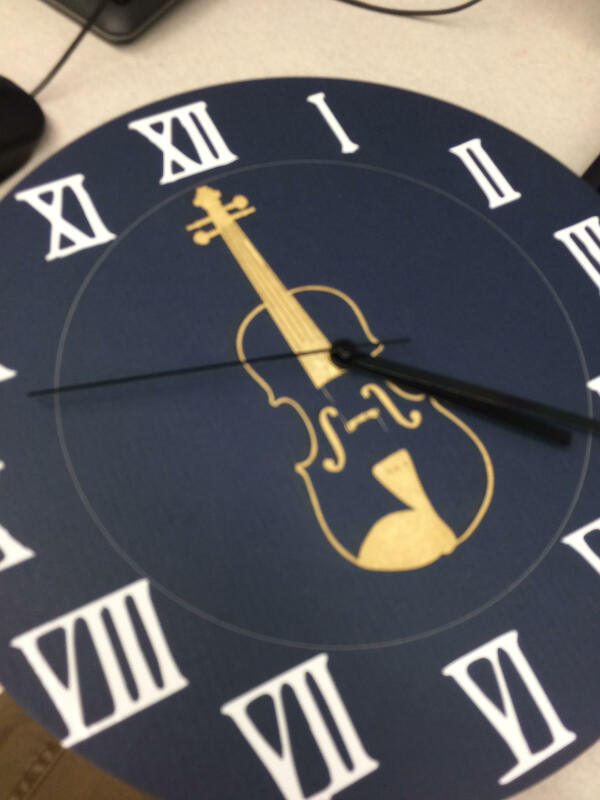
I lined up the numbers on the mat board and put them on
3D Printed Base
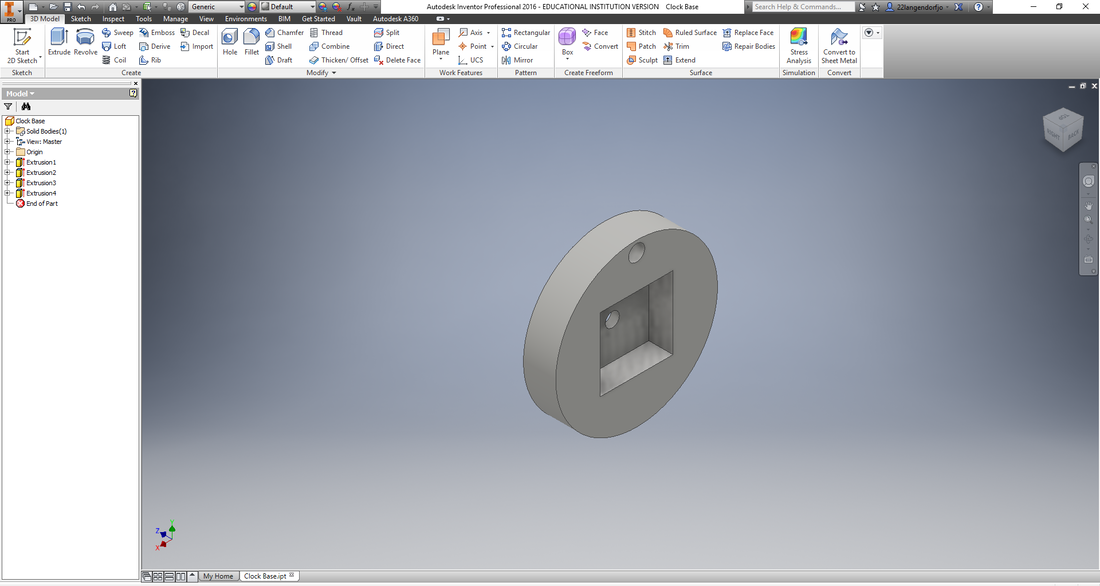
FIrst I made my base so it was the necessary length requirements. I then made and indent and a hole for the clock piece to slip in in Inventor. After it was done in Inventor I put it into maker bot and saved it to my flash drive
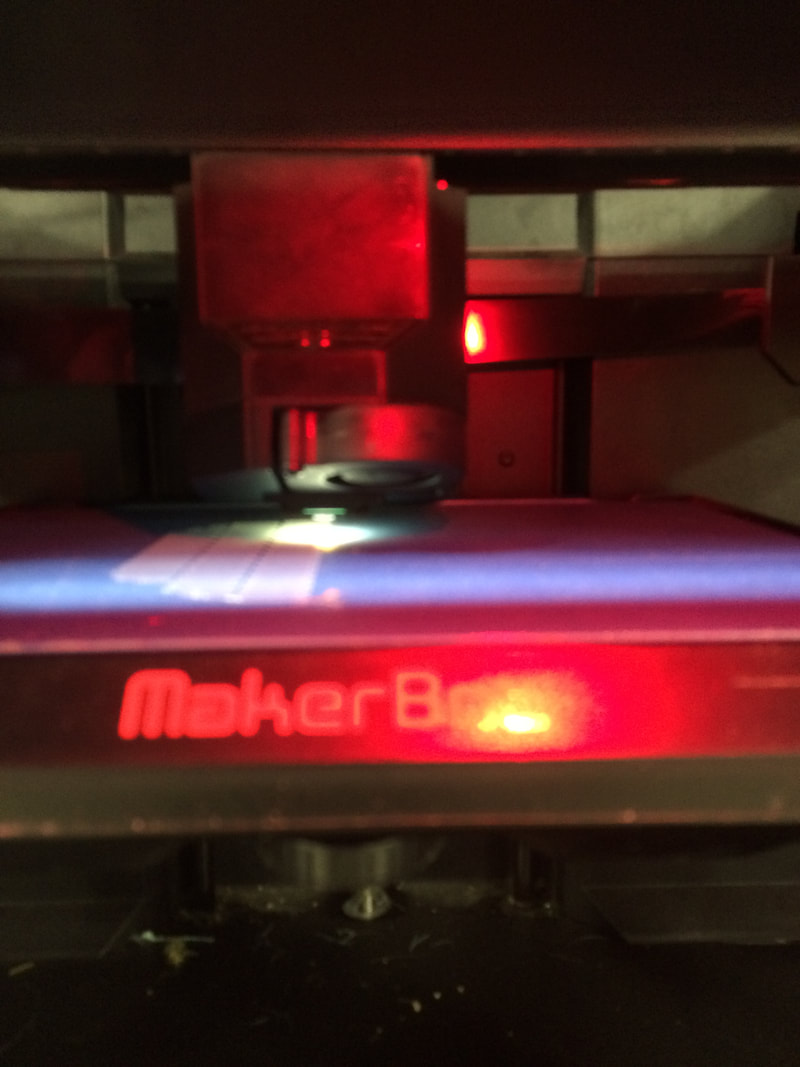
I took my flash drive and go the maker bot machine to start printing my base.
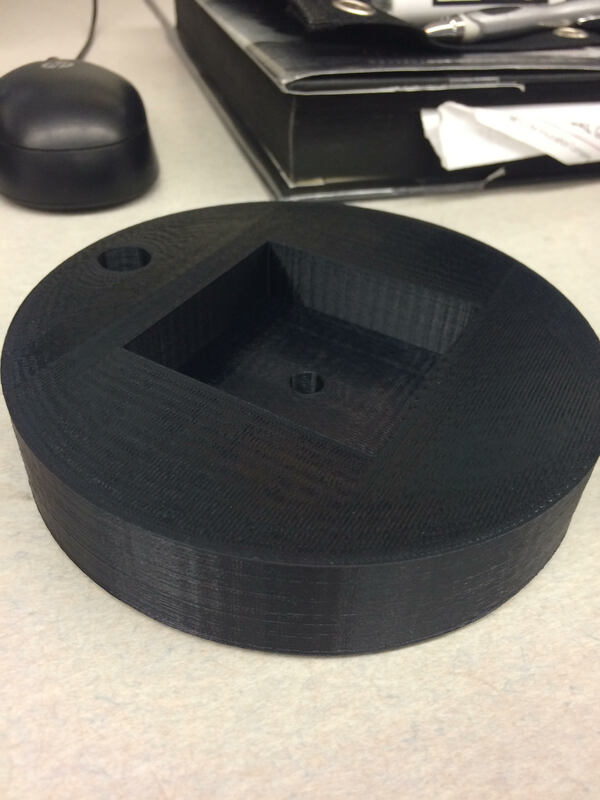
After a few hours it was done printing.
Putting it all together
I had all the parts I needed so I got the clock part and put it into the 3D base. I got my mat board and lined up the hands and the Clock was finished.

What I learned
In this last project I leaned that with all of the projects we have done we have used a lot of machines and that we can use all of these machines to make things using them together. There are a lot more parts and cool things you can do with more machines
